
In a world dominated by standardization and mass production, there's a growing movement towards personalization and uniqueness. One of the most satisfying ways to express your individuality is by building your own keyboard. This hands-on endeavor not only results in a functional and tailored tool but also offers a deep sense of accomplishment. In this guide, we'll walk you through the exhilarating journey of creating your very own keyboard.
Step 1: Define Your Vision Before diving into the intricate details, it's crucial to have a clear vision of what you want your keyboard to be. Do you envision a compact, travel-friendly design, or a larger, ergonomic layout? What type of switches do you prefer – tactile, linear, or clicky? Choose a layout, size, and key switches that align with your typing habits and aesthetic preferences.
Step 2: Gather Components Once your vision is defined, it's time to gather the necessary components. You'll need:
- Keyboard Case: The outer shell that holds all the components together. Cases come in various materials like aluminum, plastic, or wood, each imparting a different look and feel.
- PCB (Printed Circuit Board): This is the brain of your keyboard, connecting the switches and enabling communication with your computer.
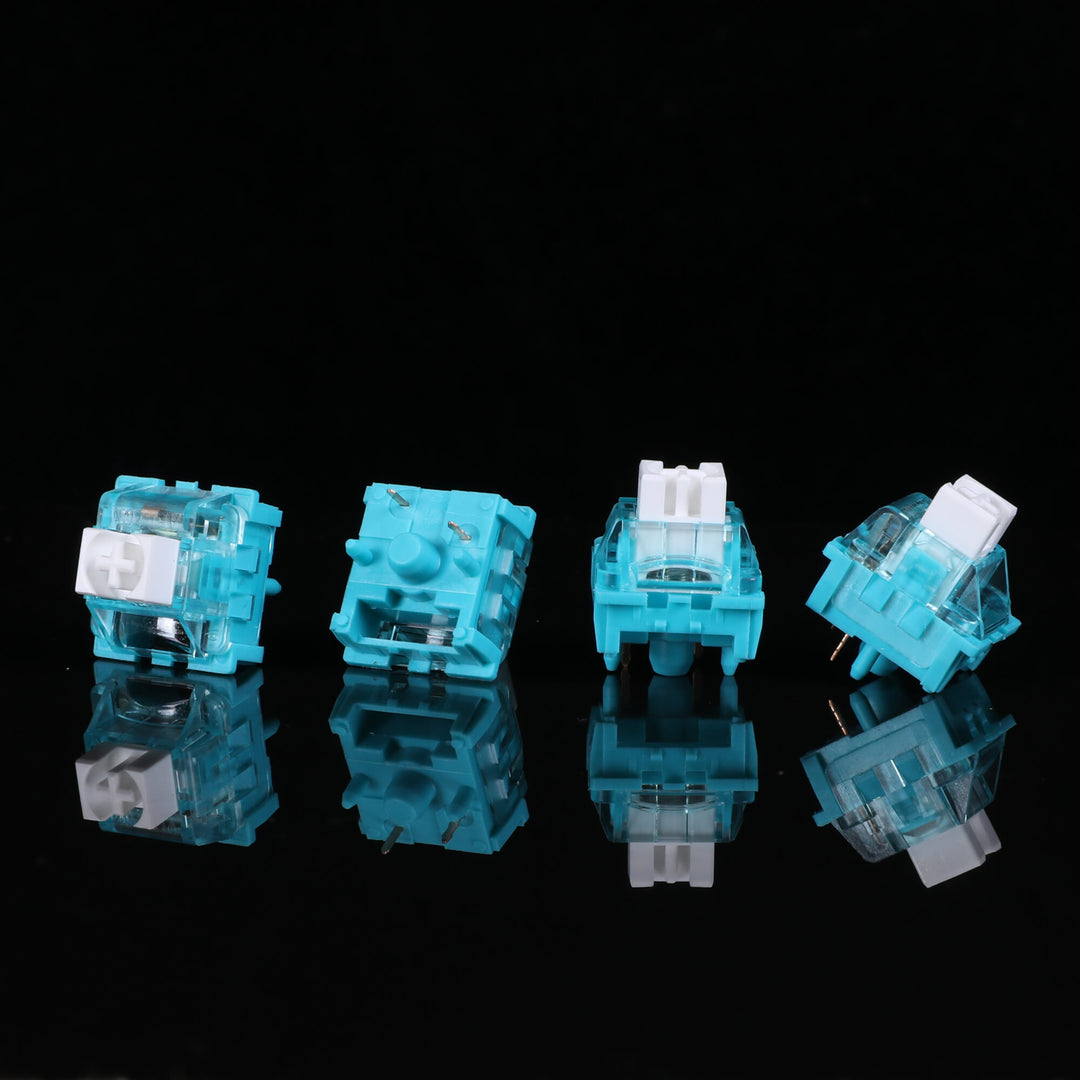
- Key Switches: The heart of your keyboard. Choose switches that match your typing style – tactile switches for feedback, linear switches for smoothness, and clicky switches for that satisfying sound.
- Keycaps: The visible part of the keyboard. Keycaps come in countless styles, colors, and profiles, allowing for immense customization.
- Stabilizers: These ensure that larger keys (like the spacebar) press evenly from all sides.
- Microcontroller: Required for programming your keyboard and customizing key functions.
- Soldering Equipment: If your PCB doesn't come pre-soldered, you'll need a soldering iron and solder.
- Screws and Standoffs: For assembling the case and securing the components.
- Cables: USB cables to connect your keyboard to your computer.
Step 3: Assembly
- Prepare the Case: If your case comes disassembled, follow the manufacturer's instructions to put it together.
- Install the PCB: Carefully place the PCB inside the case, aligning the USB port.
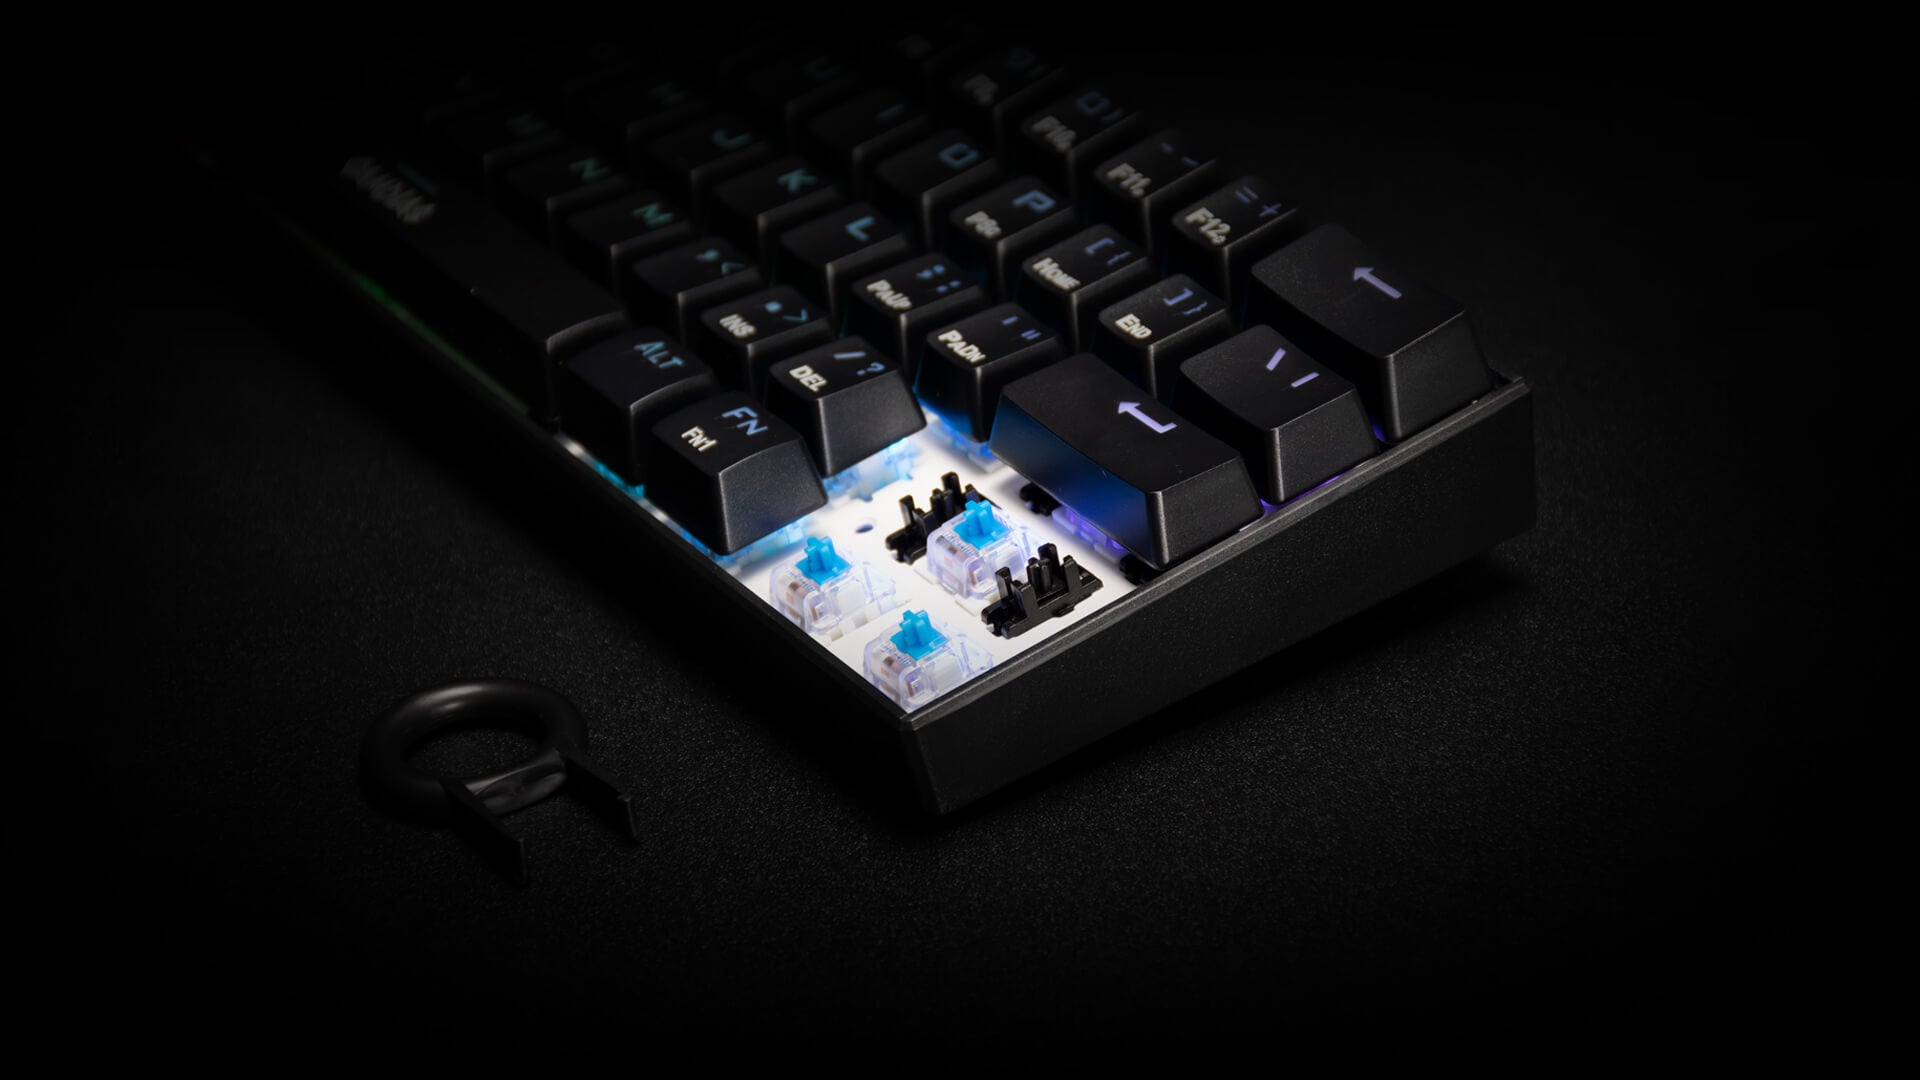
- Mount the Switches: Insert the key switches into the designated slots on the PCB. Ensure they're aligned correctly and evenly spaced.
- Attach Stabilizers: If your keyboard has larger keys, attach stabilizers to ensure they press smoothly.
- Install Keycaps: Gently press the keycaps onto the switches. They should fit snugly but not be forced.
- Connect Cables: Attach the USB cable to the PCB for power and communication.
Step 4: Programming and Customization Most custom keyboards allow you to program and customize key functions. This step requires downloading software provided by the keyboard's manufacturer. You can remap keys, create macros, and fine-tune lighting effects (if your keyboard has RGB lighting).
Step 5: Testing and Troubleshooting Before declaring your keyboard complete, test every key to ensure they register properly. If any keys are unresponsive or exhibit erratic behavior, double-check the soldering and connections.
Step 6: Enjoy Your Creation Congratulations! You've successfully built your own keyboard. Take a moment to appreciate the result of your hard work and creativity. Your keyboard isn't just a tool – it's a reflection of your personality and dedication.
Building your own keyboard is a gratifying experience that combines technology, craftsmanship, and individuality. It allows you to type in comfort and style, while also providing a tangible representation of your unique taste. So, whether you're a coding enthusiast, a writer, or just someone who values the finer details of life, crafting your own keyboard is a journey worth embarking upon.